Testing Procedure
Below is the summary steps to do before we begin with the detail :
- Connect to the network
- Open TestQC Web with url
https://xx.xx.xx.xx - Do the Testing (Keyboard, Deadpixel, Touchscreen … and so on)
- If all done, then Press Submit / Upload button
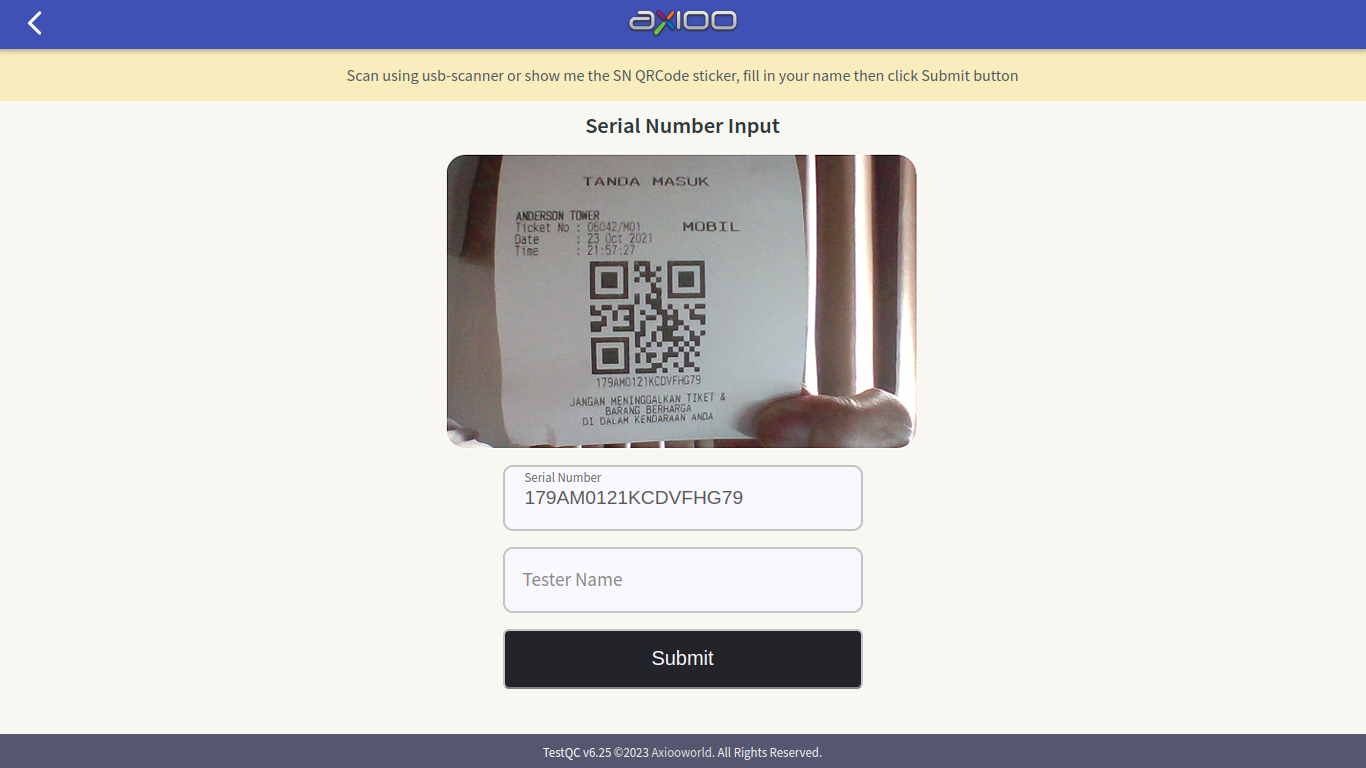
- Scan the barebone Serial Number (SN ID) or manually input the Serial number
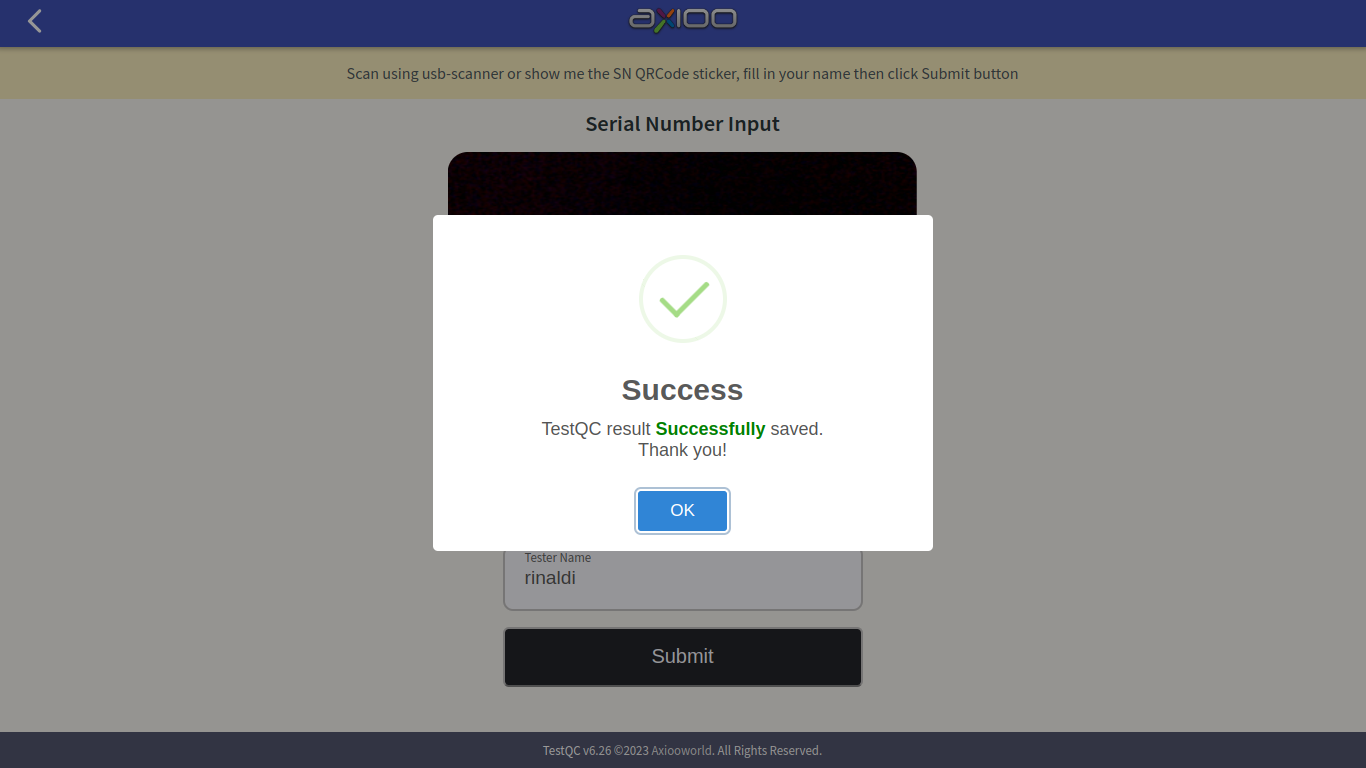
- Submit the report test
- Shutting down
TestQC HTTPS URL
Pay attention to the https protocol on the URL since some test needs https to work. This has been resolved recently by redirecting all http request to https automatically. However, since this is a local server that doesn’t have FQDN to apply Let’s Encrypt public certs, user still must answer the confirmation from browser :Proceed to unsafe connection
For mass testing on production line, before testing :
- Make sure the TestQC Web server is online and available
- Make sure the Ethernet or WiFI network is ready (SSID name and password)
- Quiet environment and enough room lighting (important for mic and webcam test)
- Line up device under test and barcode scanner for serial number scan
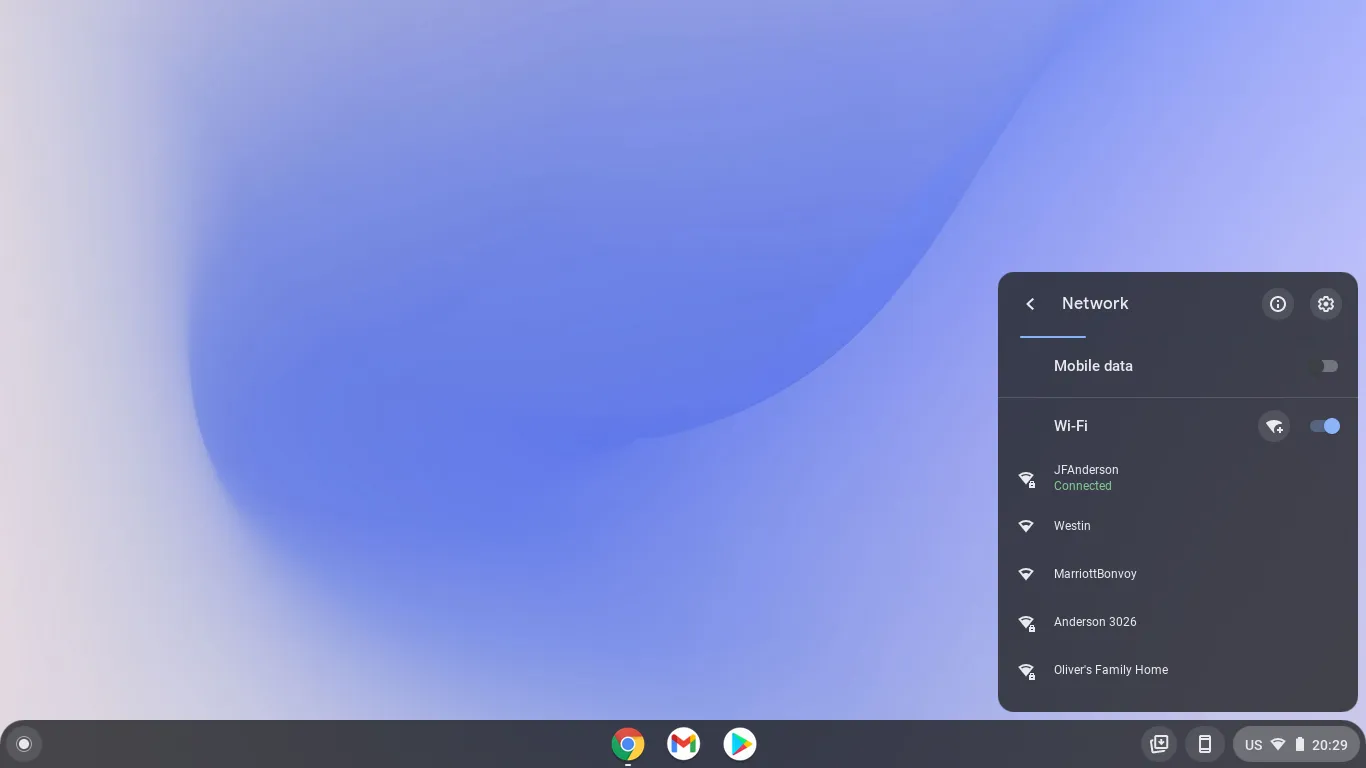
- Connect to network :
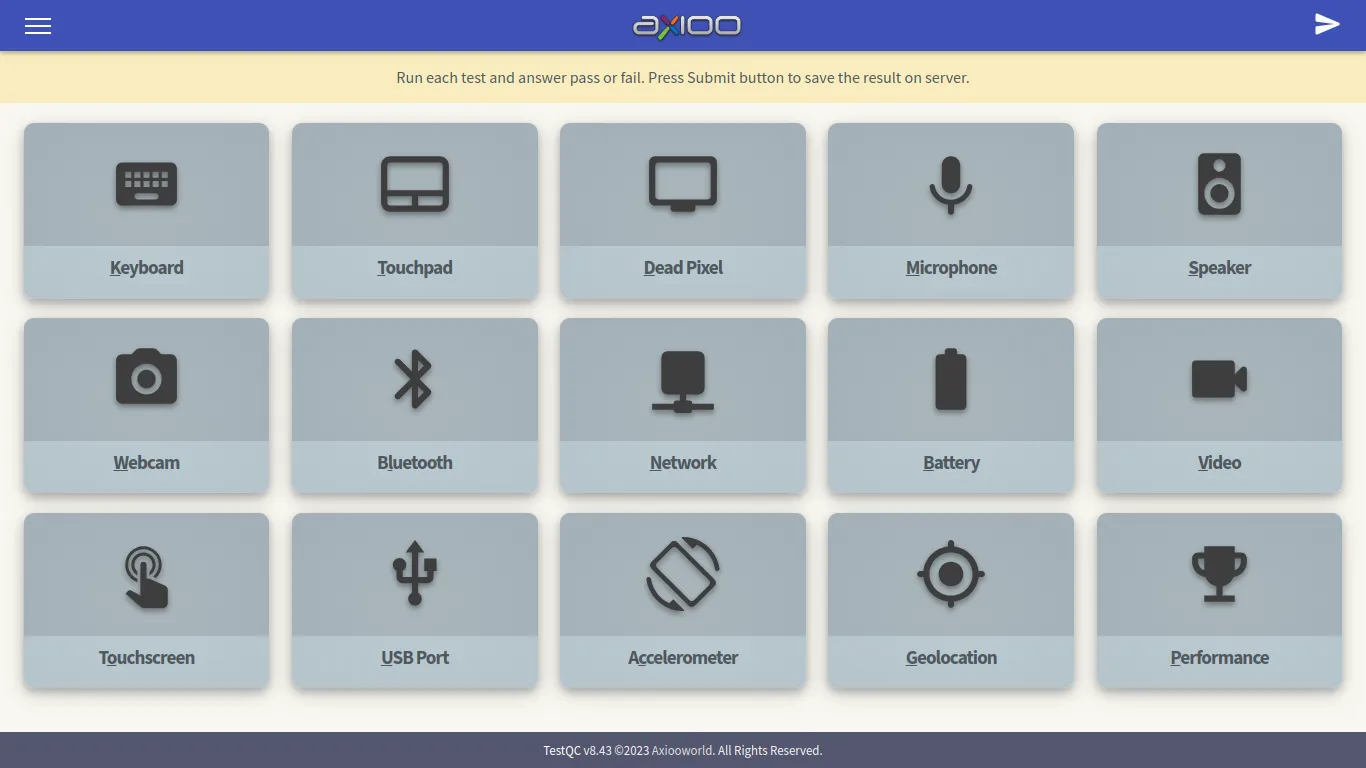
- Main menu :
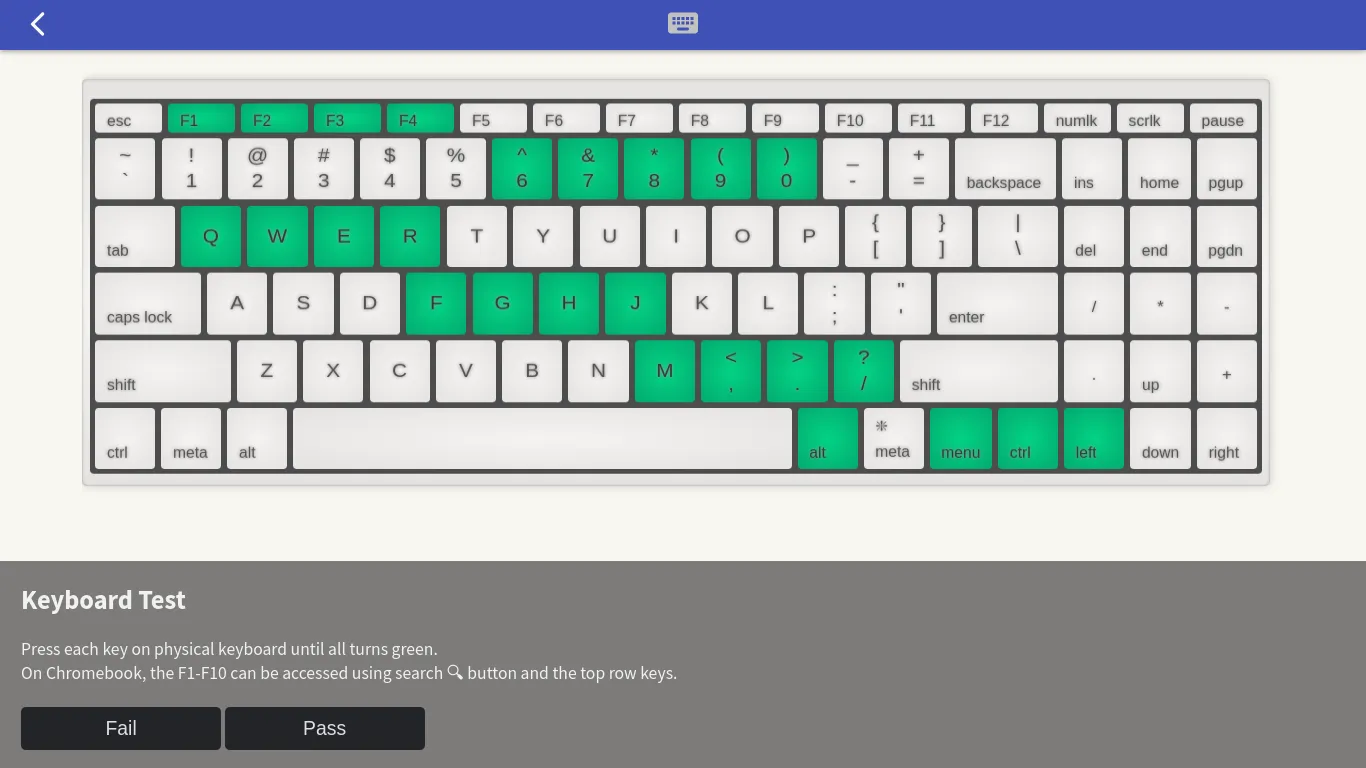
- Keyboard test :
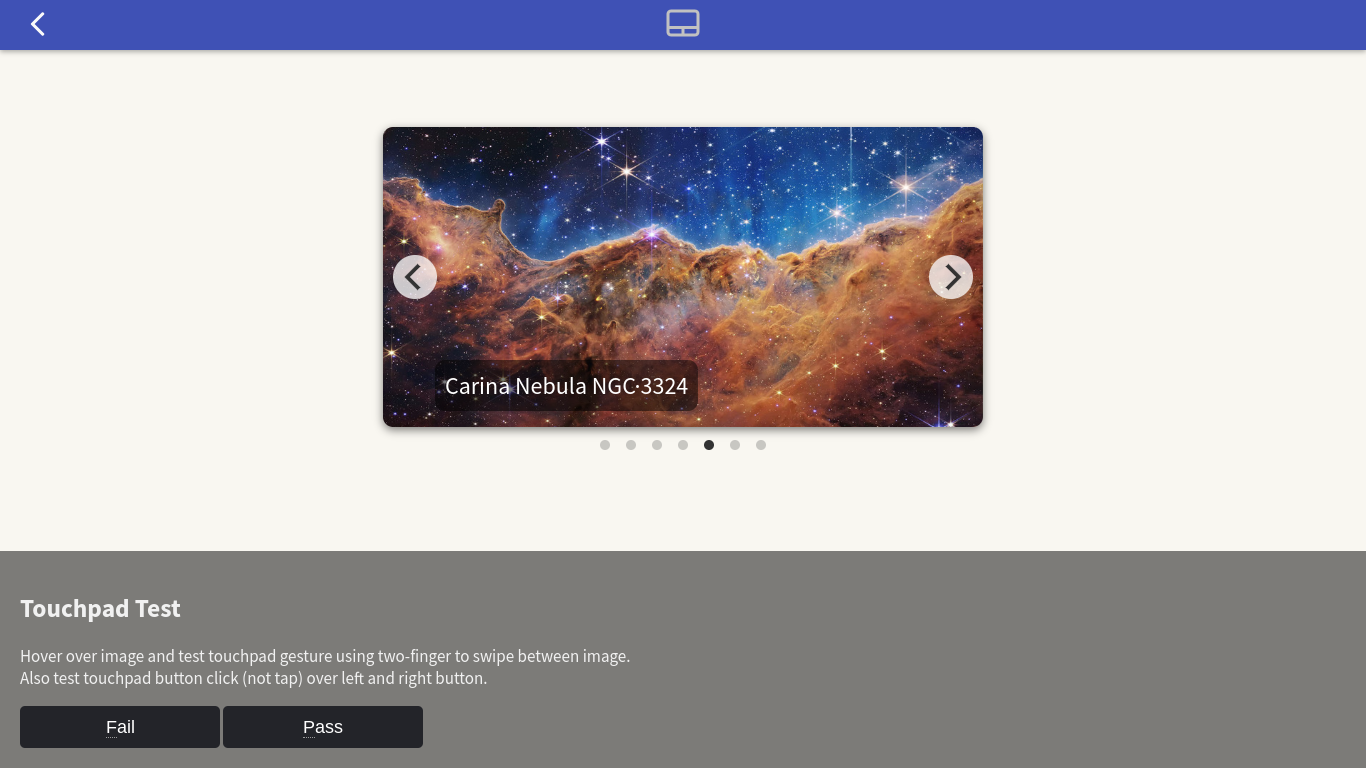
- Touchpad test :
- Dead Pixel test :
![]()
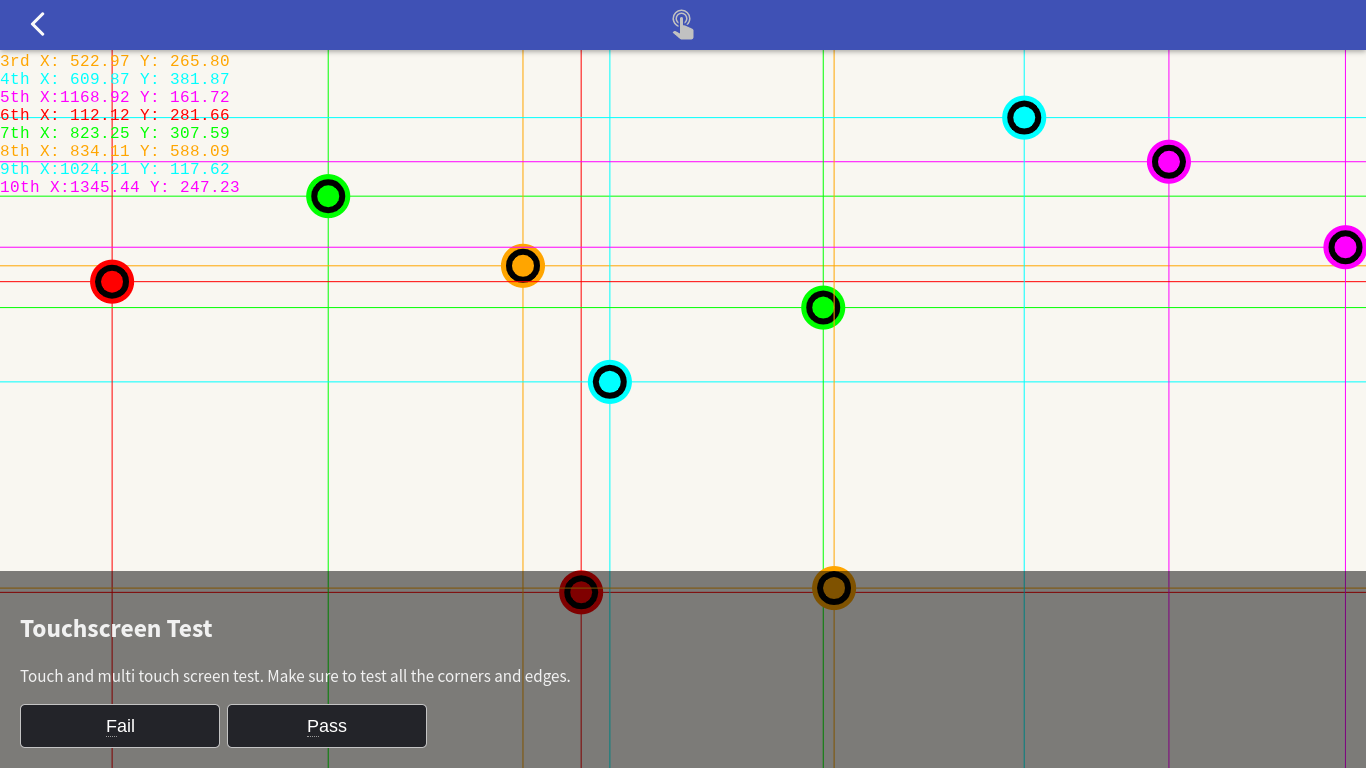
- Touchscreen test :
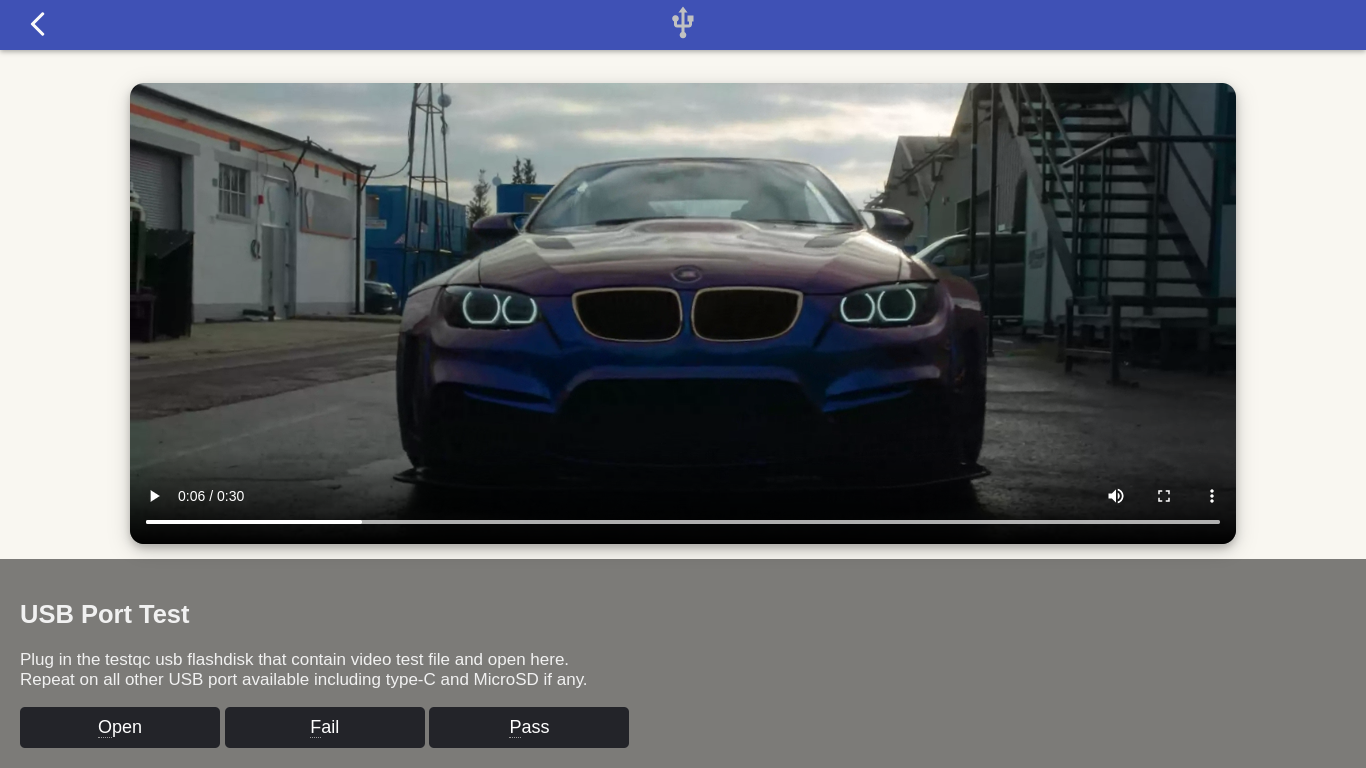
- USB Port test :
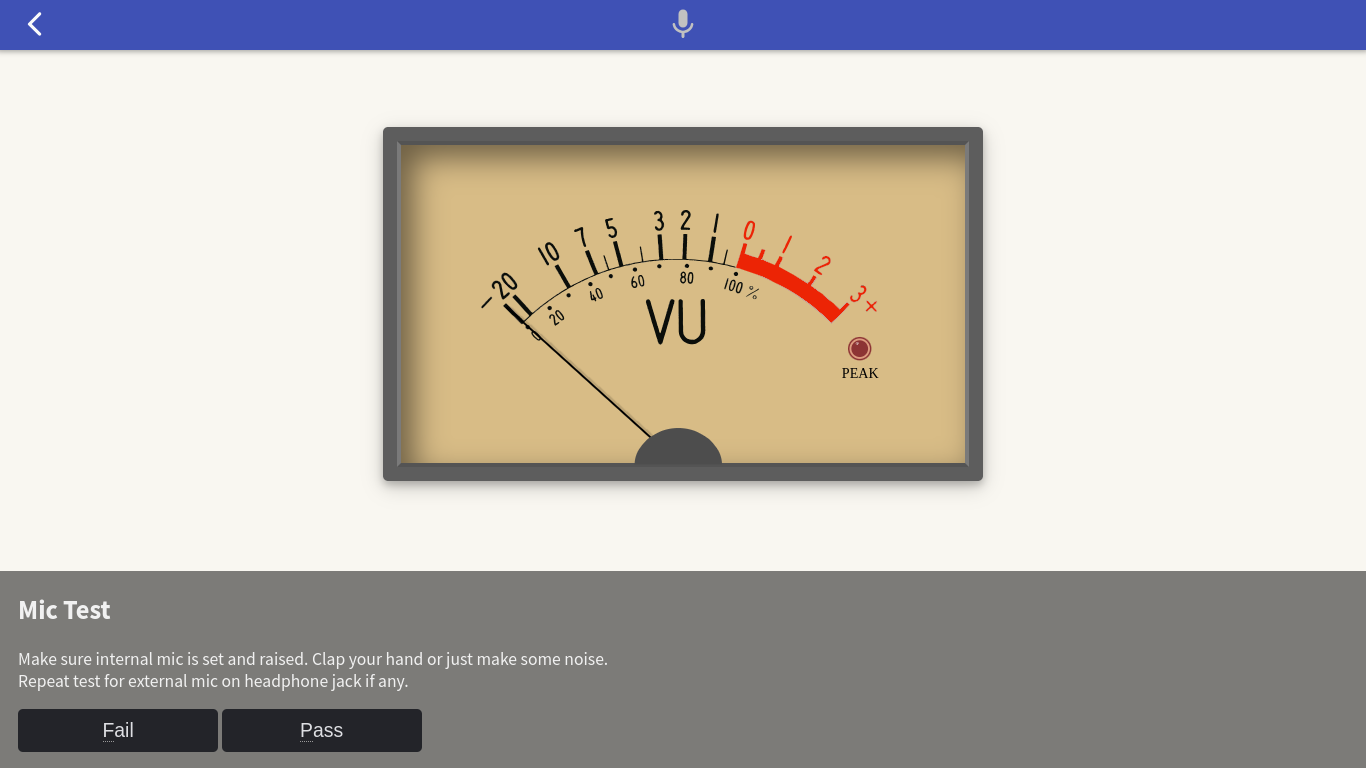
- Microphone test :
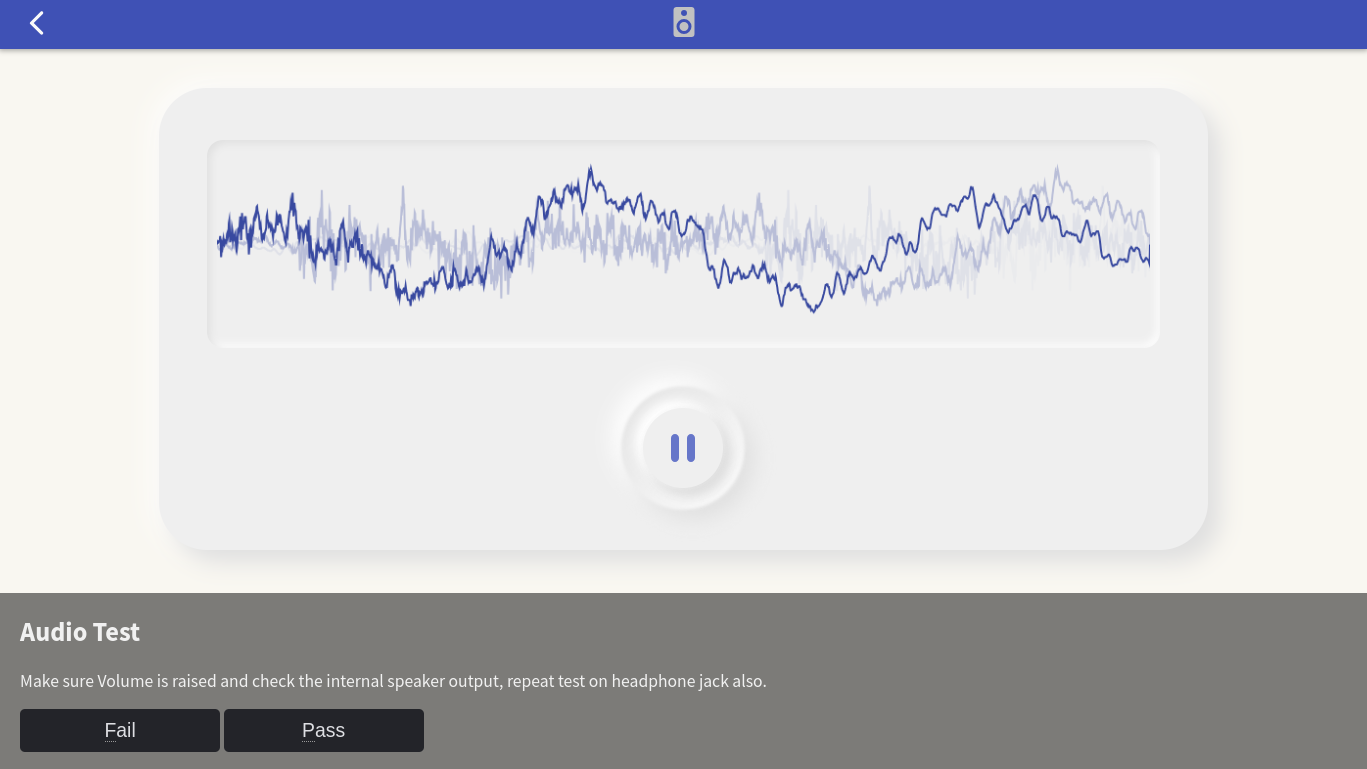
- Speaker test :
- Video test :

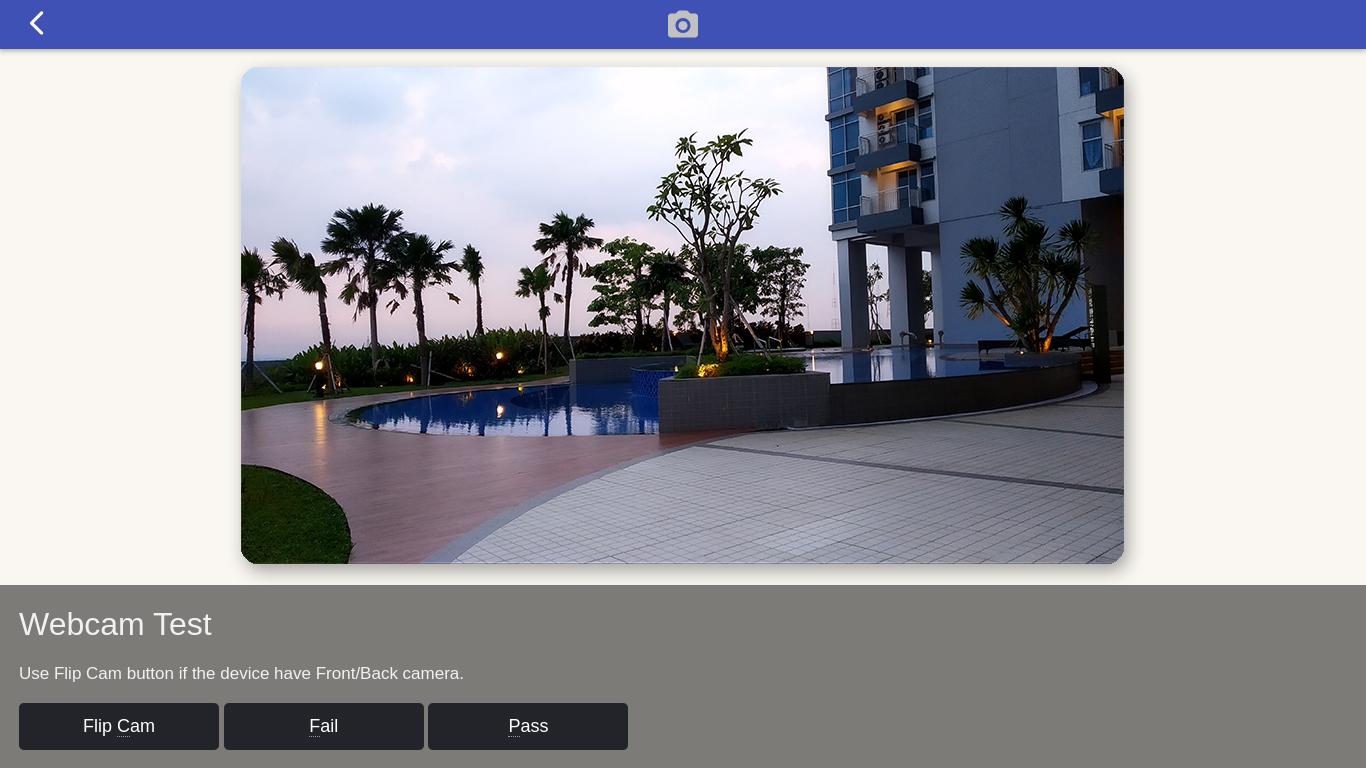
- Webcam test :
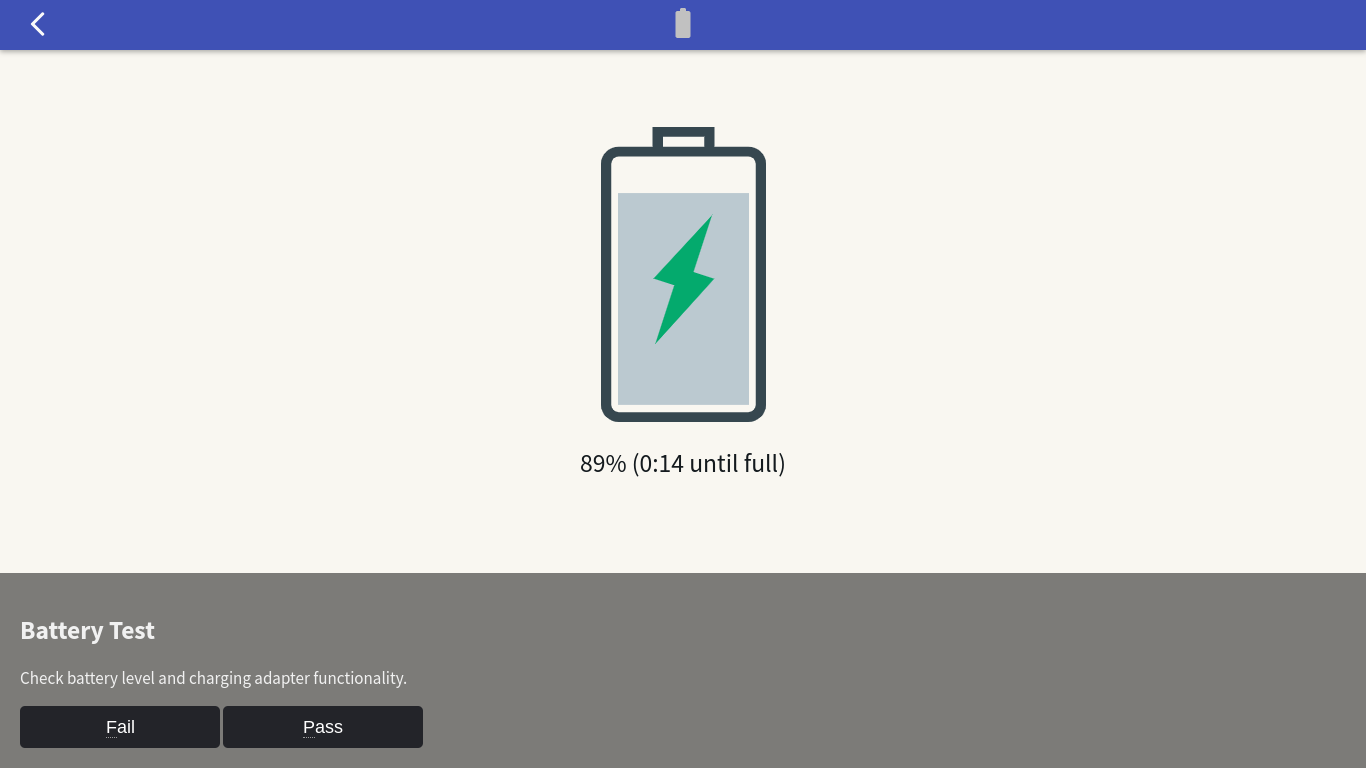
- Battery test :
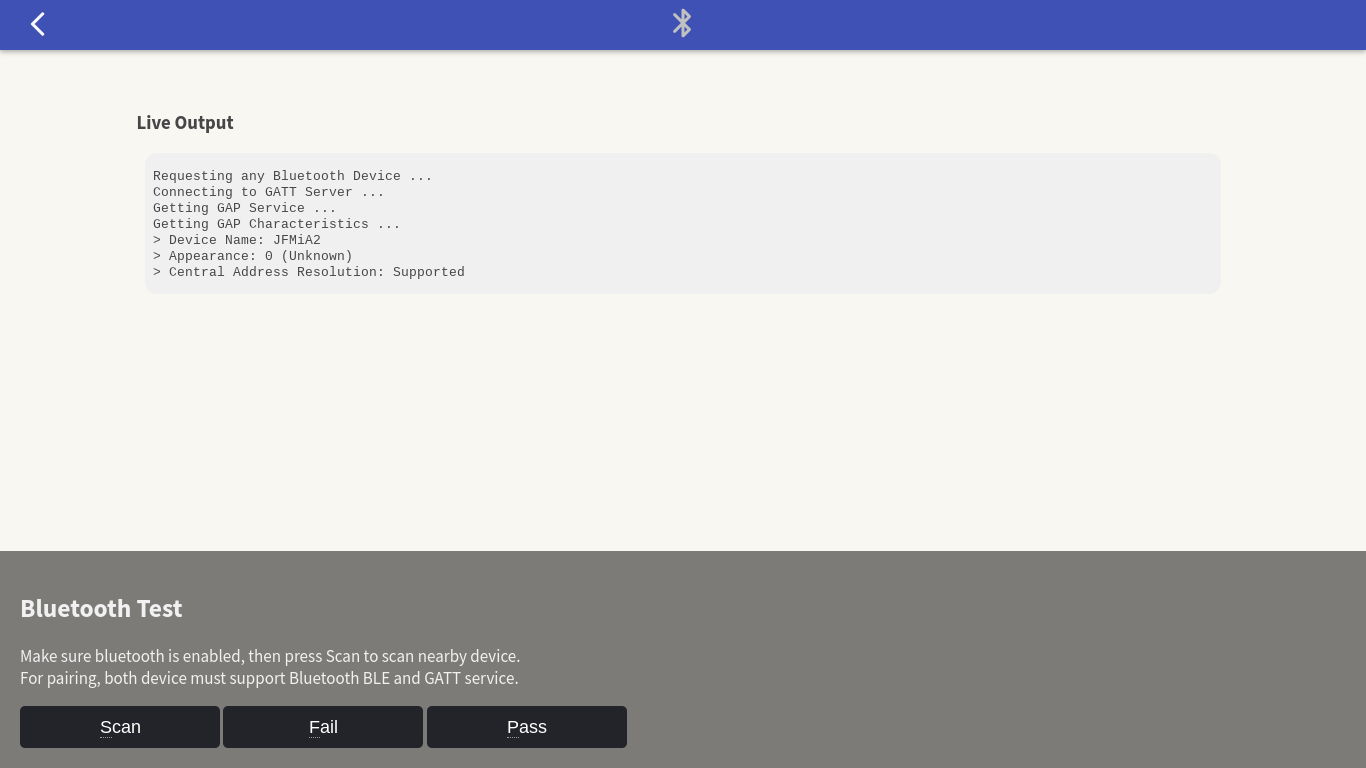
- Bluetooth test :
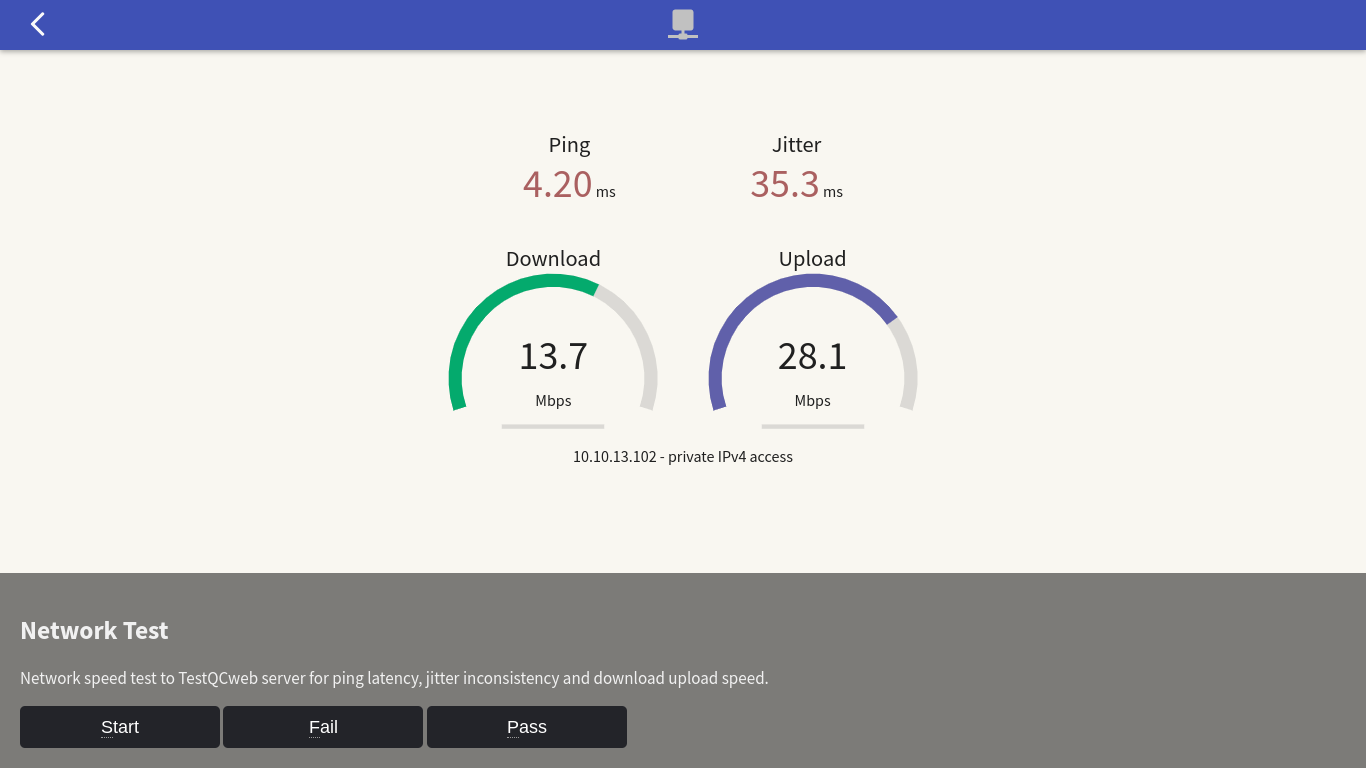
- Network test :
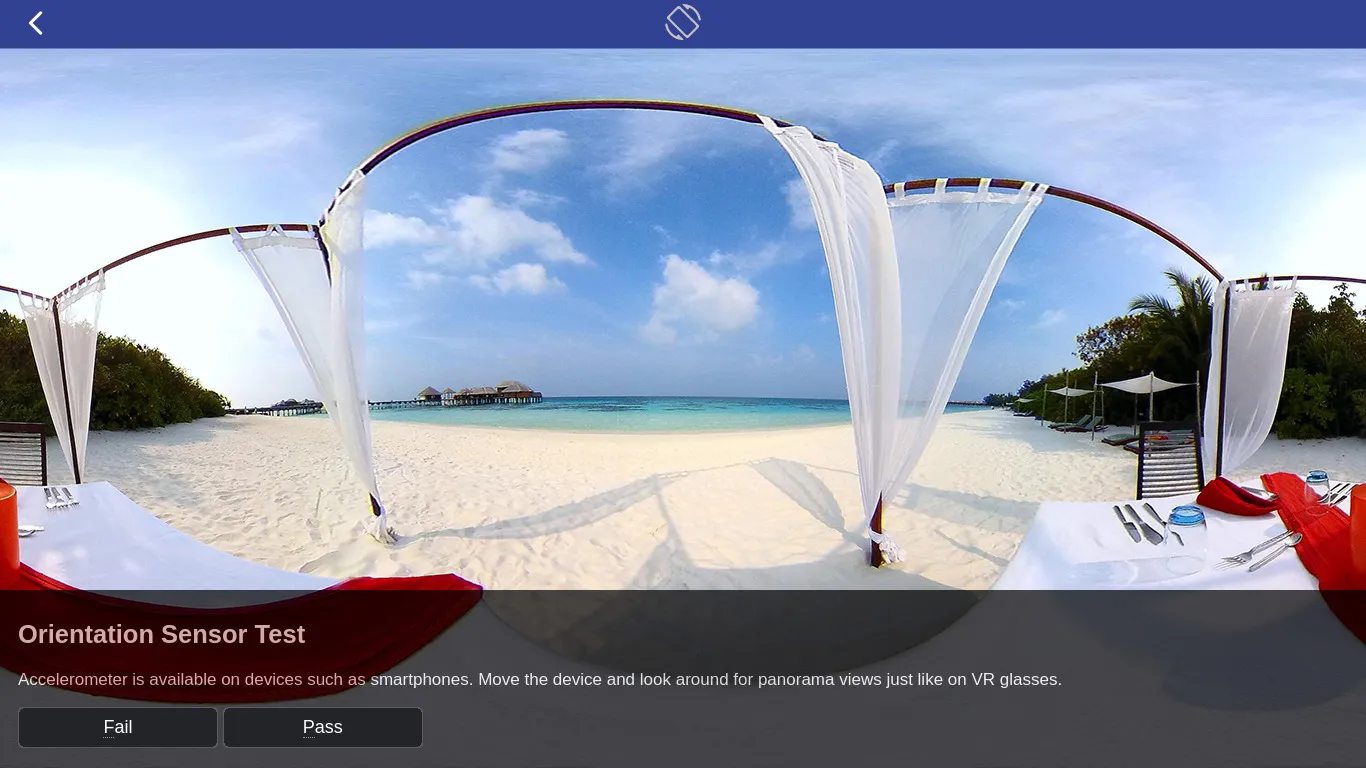
- Accelerometer / Orientation test :
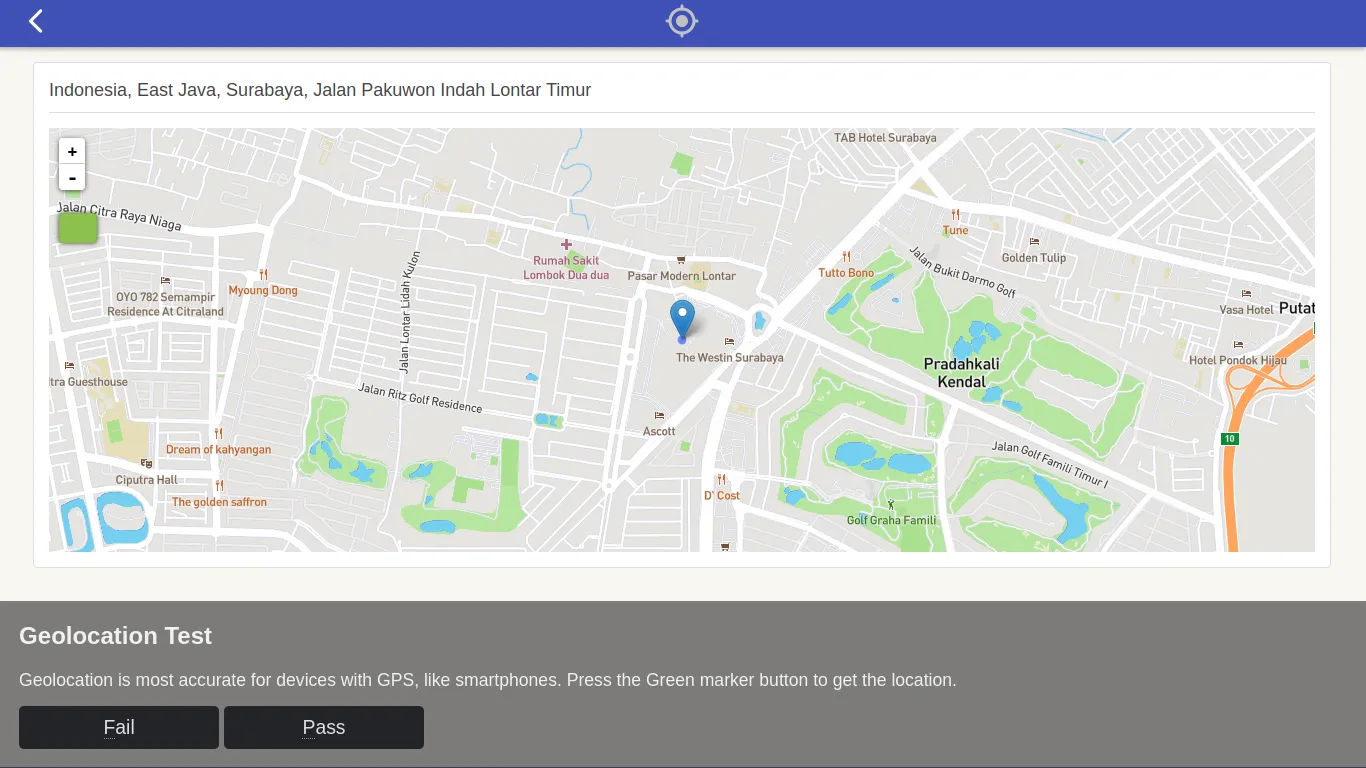
- Geolocation test :
- Performance test :

- Posting Report :
- Finish :
Shutdown the device and move on to the next device.